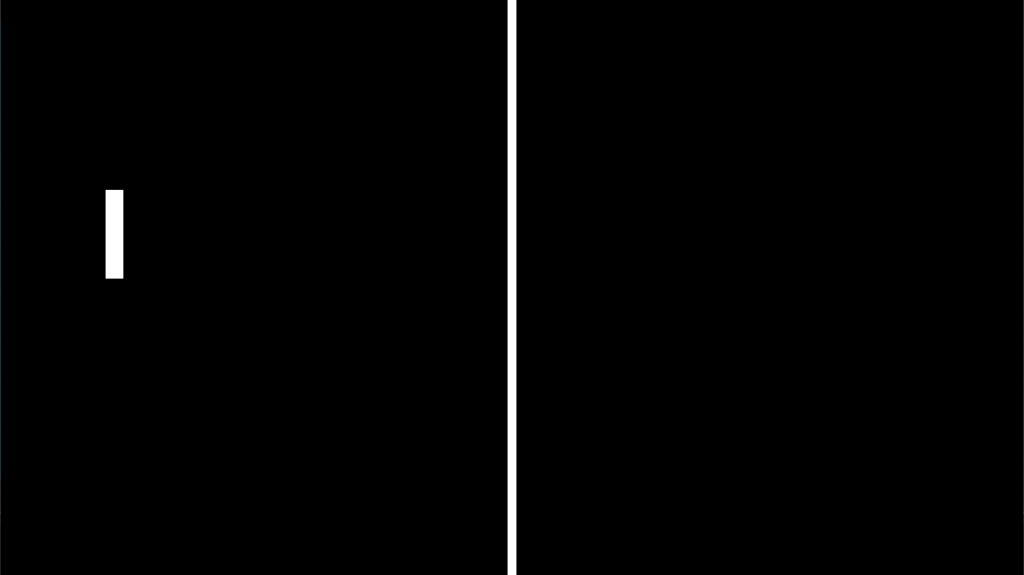
With the main pong scene set up in Godot, it’s time to focus on adding in a player controlled paddle. Since Pong is a relatively simple game we can create the player paddle graphics fairly easily and then quickly add in the controls to make sure we can move it!
Creating the Player Paddle
We start off by adding a StaticBody2D that will hold all the player nodes. We use a StaticBody2D since we won’t need any physics functions on the player itself since that will all be handled by the ball. Inside of the PlayerPaddle Node we define another ColorRect set to pure white and sized at 20×100. After creating the ColorRect, we also create a rectangular CollisionShape2D set to the same dimensions. If the ColorRect and Collision Shape are not lining up, inside of the ColorRect we can set the Anchor to Centered. The PlayerPaddle Node is then moved somewhere on the left half the Pong field (i used 128 for the X and 264 for the Y).

Adding Movement
To make the paddle move, we need to define inputs. This can be done from the Project->Project Settings menu window and using the Input Map section. We will define “player_paddle_up” and “player_paddle_down” mapped to W and S respectively.

From here we can create the PlayerPaddle Script. We start by declaring two variable (window_height and paddle_height) along with a constant (PADDLE_SPEED). The heights will be defined during the _ready function to the viewport size in the Y Direction and the PlayerPaddle size in the Y Direction, respectively. PADDLE_SPEED is set to generic 500.
Inside of the _process() function we simply check to see if the inputs are one of the defined above and if so will either add or subtract the paddle speed to the paddle position in the Y Direction. To make sure the paddle stays on screen, the clamp() function is used to keep it in bounds.

