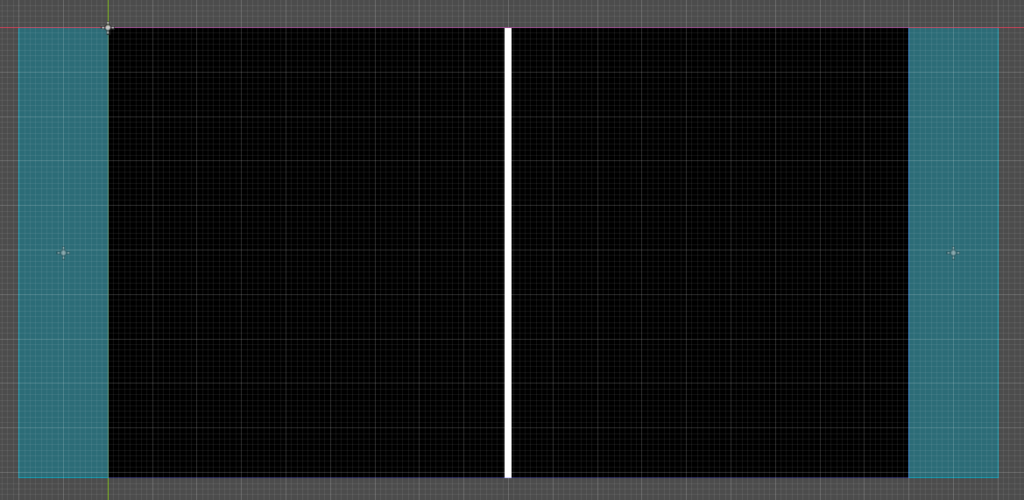
Pong is generally made up of just a few basic components: the main game scene, the player paddles, the ball, and the scoreboard. In this part of the series we are focusing in on just the main game scene.
This scene itself is made up from a few basic components as well: the background, the midfield line, the top/bottom borders, and the goal zones.
Background and Midfield Line
The background and midfield line for our Pong Game are both created using a ColorRect. For the background, we can set the color to pure black and the size equal to the viewport size. The easiest way to do this is to turn on grid snapping and expand it to the size of the viewport. Otherwise, in the Transform section of the ColorRect the X and Y size can be set to the default 1152×648.
The midfield line is set to 10×648 for its size but the color is changed to pure white. The position in the X-Direction can be defined as half of our viewport minus half of the width of the rectangle. In this case, it equates to 571px on the X.
Top and Bottom Borders
The top and bottom borders need to serve two major purposes: to stop the ball from escaping and to bounce the ball backwards into the play area. The borders do not move and therefore can be created using a StaticBody2D Node. Inside of the StaticBody2D (which we rename to “Borders”) we will create 2 CollisionShape2D. One will represent the top border and the other will represent the bottom.
For the two CollisionShape2D we can use a WorldBoundary2D shape which only requires us to define a position and orientation while not requiring an actual shape like a normal collision shape. The traditional method will work here but using the World Boundary is better design intent. The key is to make sure that each boundary is in line with the top and bottom of the play window.

Goal Zones
The goal zones represent the left and right side of the screen where the ball goes if a player fails to return the volley. Ultimately if the ball goes there we will need to reset the position to center and increase the player score. Thinking of this, we can use an Area2D to represent each goal zone (one for left and one for right). Inside of each Area2D we will define a CollisionShape2D that will handle interactions in the future. These will just need to be normal collision rectangles set to the height of the viewport and wide enough off to the side.

With all the above complete, you’ll be ready to move on to the next part where we create the Player Paddle. Your Scene Tree should look similar to this to ensure you’re set up for future lessons.

