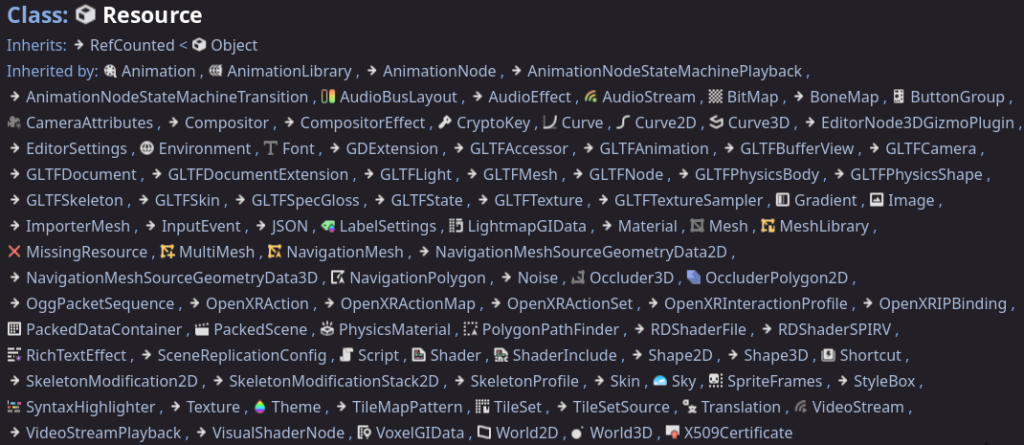
There are a lot of built-in resources to the Godot Game Engine but did you know we can create our own custom resources? Custom resources in Godot are an incredibly easy way to rapidly create unique objects that all share the same base properties and other information.
What is a Resource?
Most users are familiar with Nodes. Nodes are the basic building block of Godot scenes and handle drawing sprites/models, handling interaction, or even just defining a Player HUD. Resources on the other hand are ultimately just containers that hold data and don’t do anything on their own. Some examples of resources would be Textures, Meshes, Animations, and even Shaders.

When loading a resource into a scene, Godot will only load it into memory once and then return that same copy the next time it is needed meaning we do not need to duplicate resources. However, Resources can be customized and extended thanks to a combination of inheritance and export variables.
Lets take a look at a scenario:
As a developer we want to add a whole host of new items to our game that the player can hold in their hand each with their own 3D Model. Alongside the model, the position and rotation of that model would need to be adjusted for each of the items to ensure it lines up properly in the player hand. There might be additional properties that would have unique values for each item but ultimately be present in every item created. How do we most efficiently deal with this?
In theory we could create a new Scene for each item and duplicate a script onto each one; defining all of the properties we discussed above. However, there are a few issues with that: 1. It’s time consuming 2. What happens if we need to add a new property that effects ALL of the items 3. This method has a lot of code duplication. The easiest method to do this would be by creating our own Custom Resources.
Creating a Custom Resource
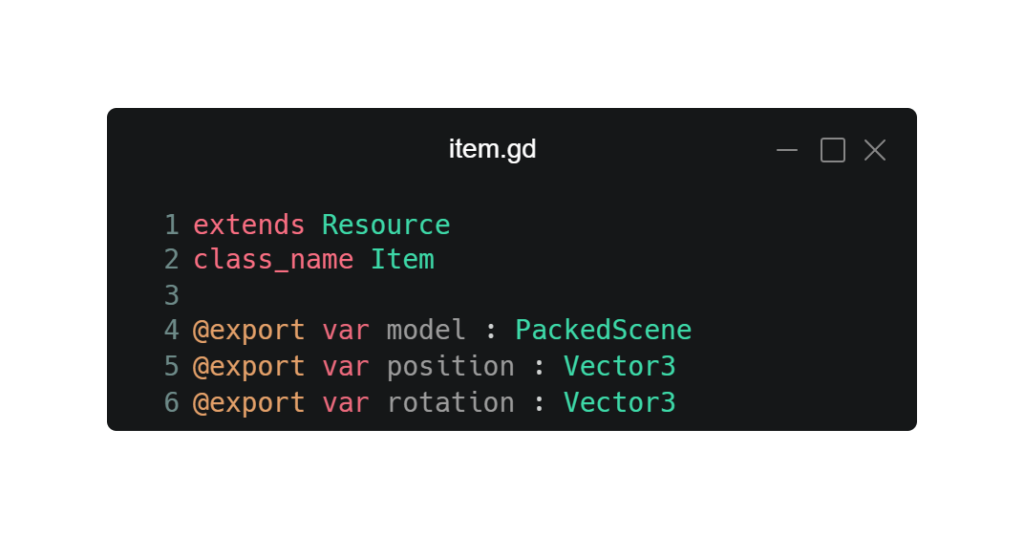
Creating custom resources is incredibly easy. All that’s needed is to right-click on a folder in the Godot FileSystem and Create New->Script. This will prompt for a name of the script (use something that encompasses a generic form of the resource such as “Item”) and then opens the code editor. The name we put for the script is just to identify it in the file list. The most important piece here is to extend Resource and define a class name. The class name is what actually determines what the resource is going to be called and referenced as later.
Inside of the Item Resource export variables can be defined for all of the shared properties that will have unique variables between the different items. This allows us to create many different unique items that extend from the Item Resource sharing all the same properties but with their own localized variants. Anything that will be hardcoded for every item can also be added here without exporting but default values can also be set for export variables.

Using the Custom Resource
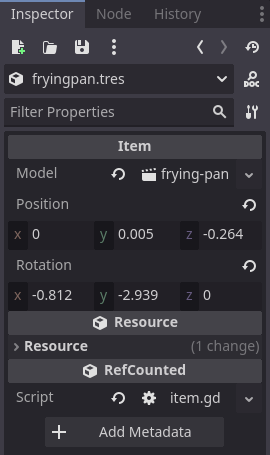
To use the Custom Resource to create items is as easy as setting it up in the first place. In the Godot FileSystem, right-click on a folder and Create New->Resource. This then brings up all available resources in this project (built-in and custom). After selecting the previously created Item Resource, naming it, and saving it we can fully customize this new item. In the inspector on the right of the screen is where we can define our Model, Position, and Rotation. Any other custom items can be created in the same manner and with almost no time at all, you can have a massive list of unique items sharing the same basic resource.

